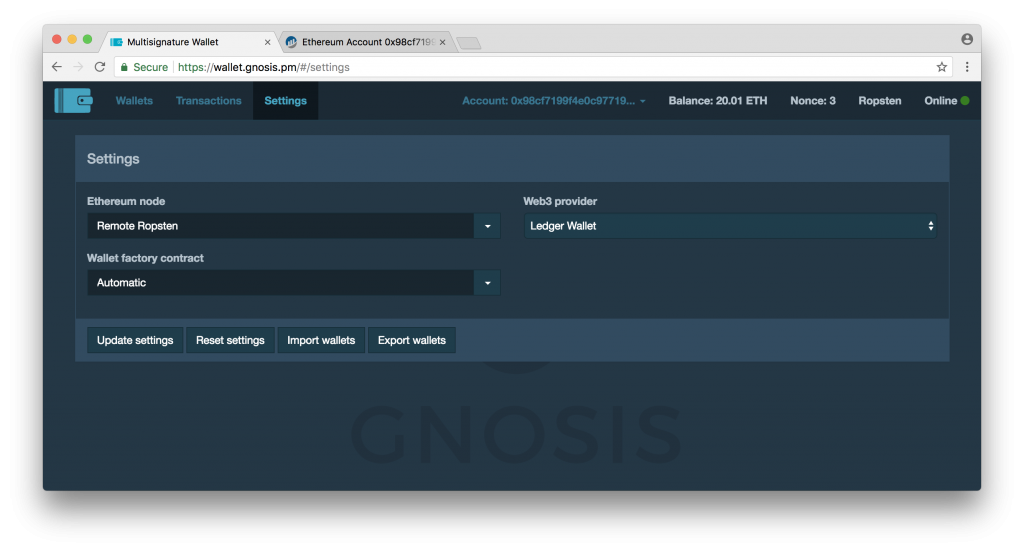
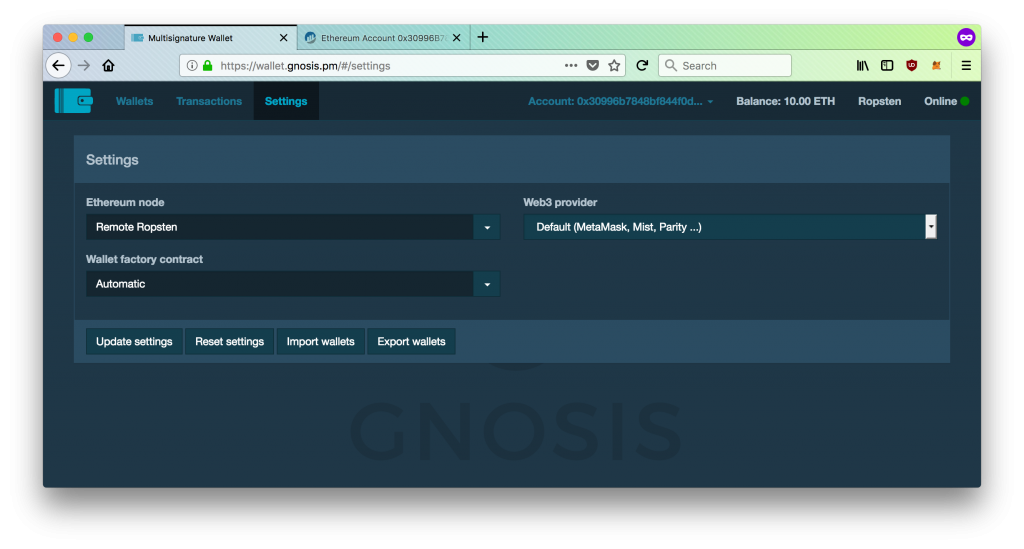
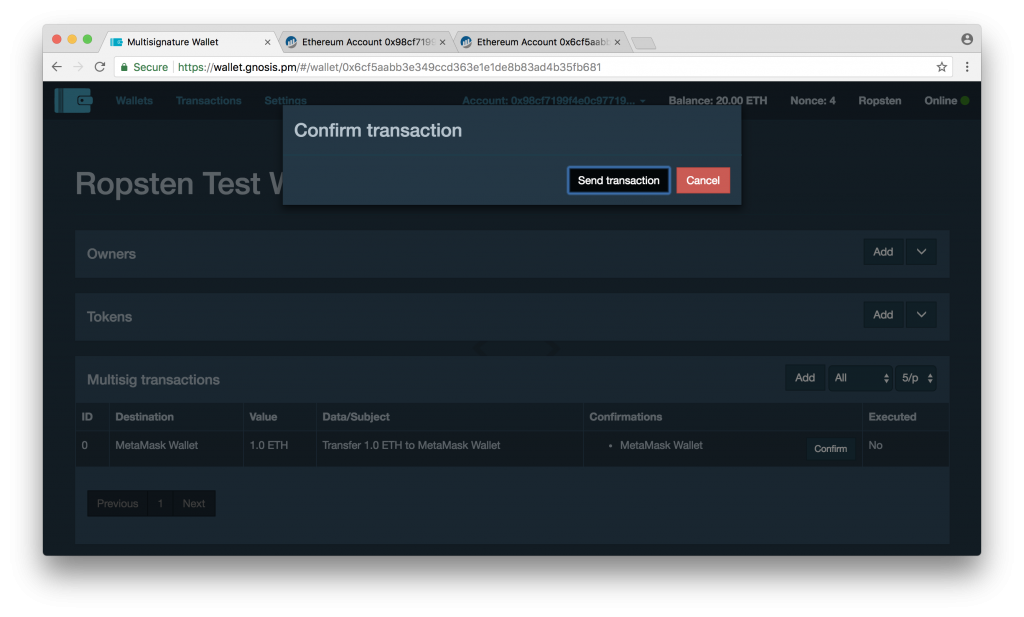
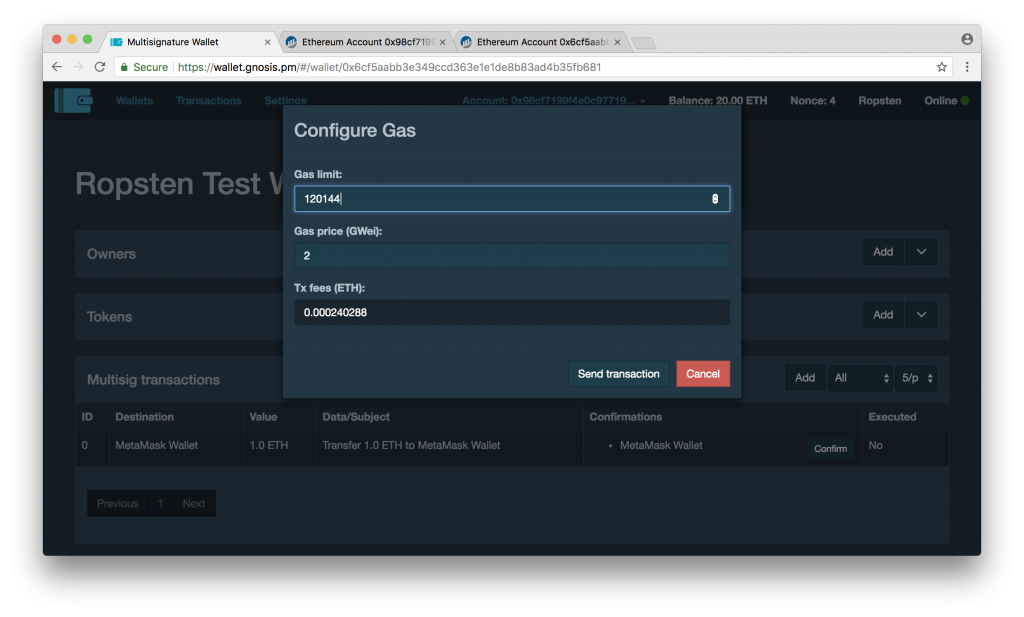
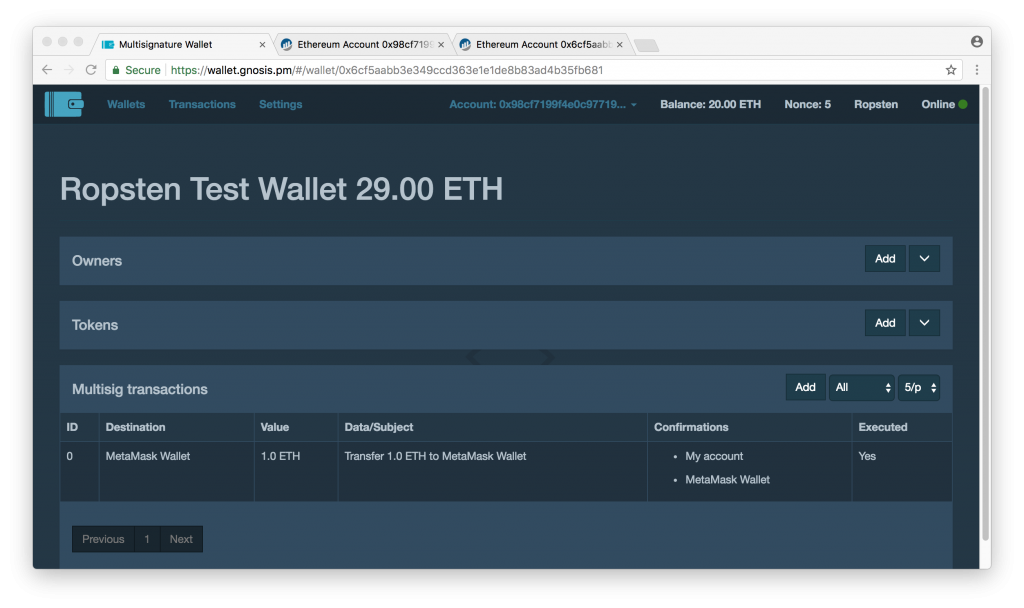
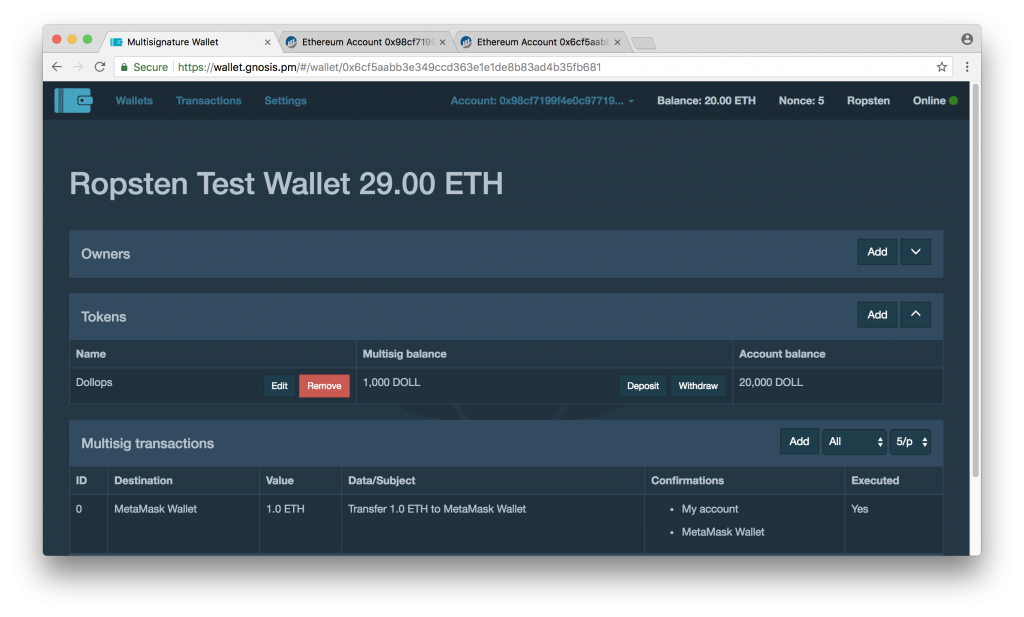
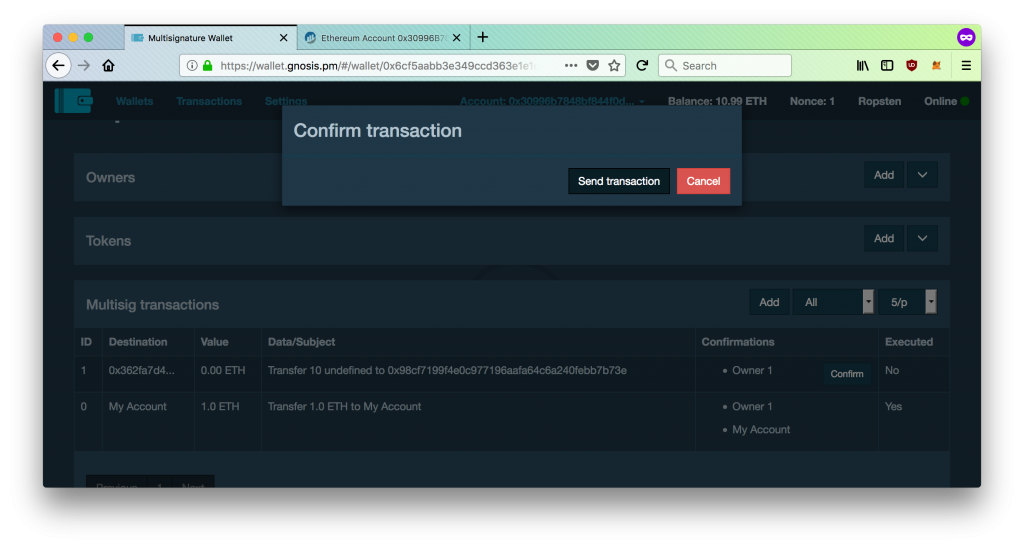
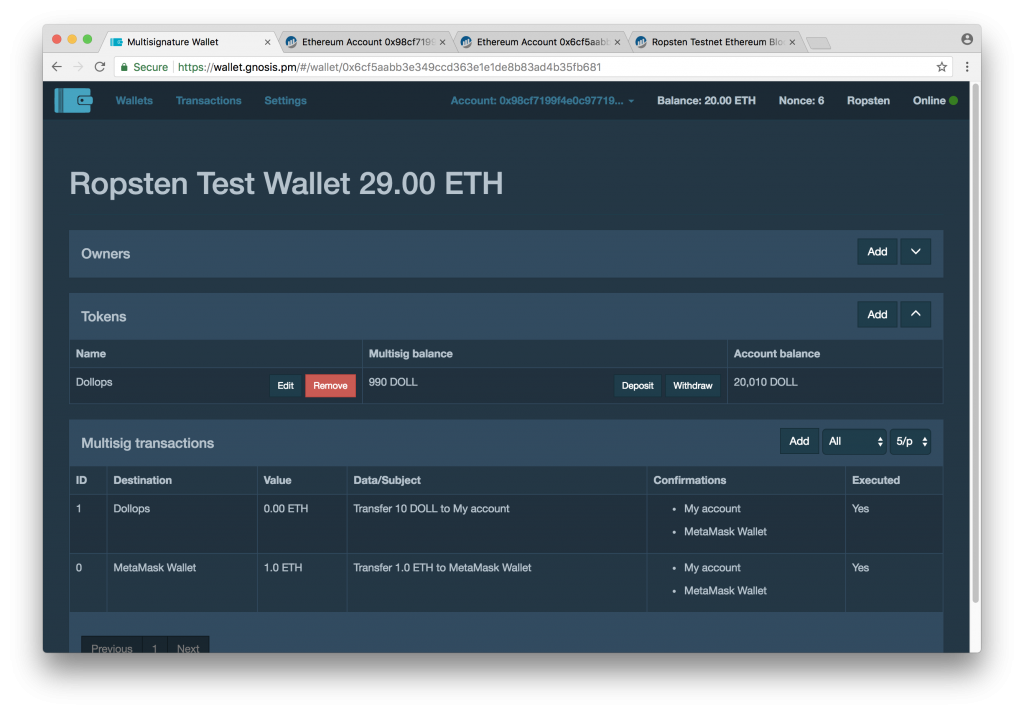
Here are a series of screenshots that will give you an idea of the process to use the Gnosis (ConsenSys) Multisig Wallet using a) a Ledger Nano S (Nano) and b) a MetaMask account.
In this guide, I will be using:
- the Ropsten Testnet Ethereum network
- the Gnosis Multisig UI at https://wallet.gnosis.pm/, with settings selected to the Ropsten network
- Ropsten Testnet ethers (RtETH)
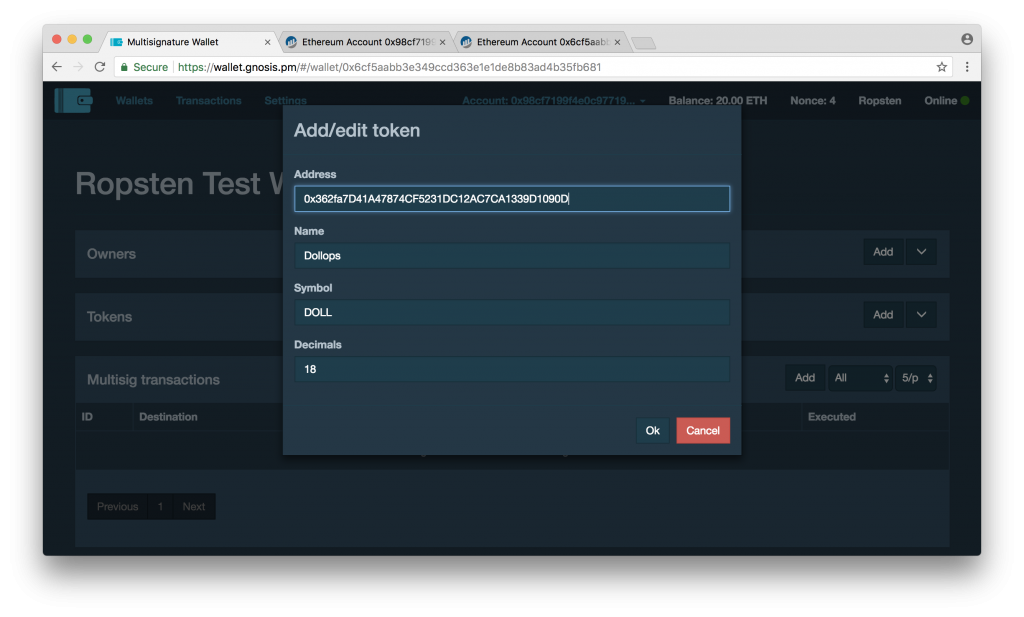
- Ropsten Testnet Dollops tokens (DOLL). Address 0x362fa7d41a47874cf5231dc12ac7ca1339d1090d, 18 decimal places with the symbol DOLL
- Ledger Nano S (Nano) running in Chromium (not Chrome)
- Firefox with the MetaMask plugin
Table Of Contents
- 1. Ledger Nano S
- 2. MetaMask
- 3. Connecting Wallet User Interface To Ropsten
- 4. Deploying A New Wallet
- 5. Executing Multisig ETH Transactions
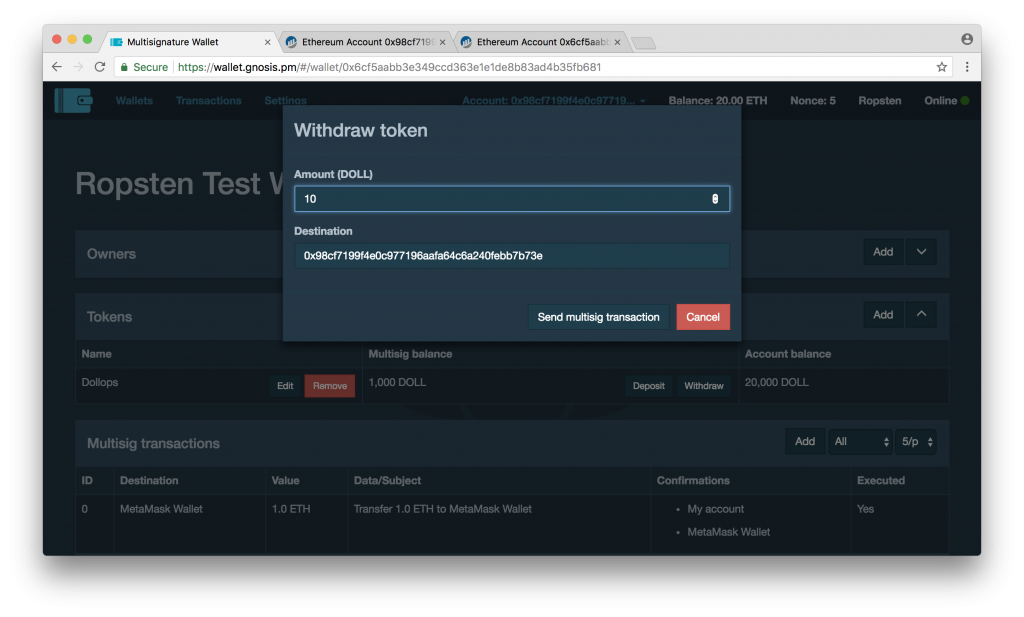
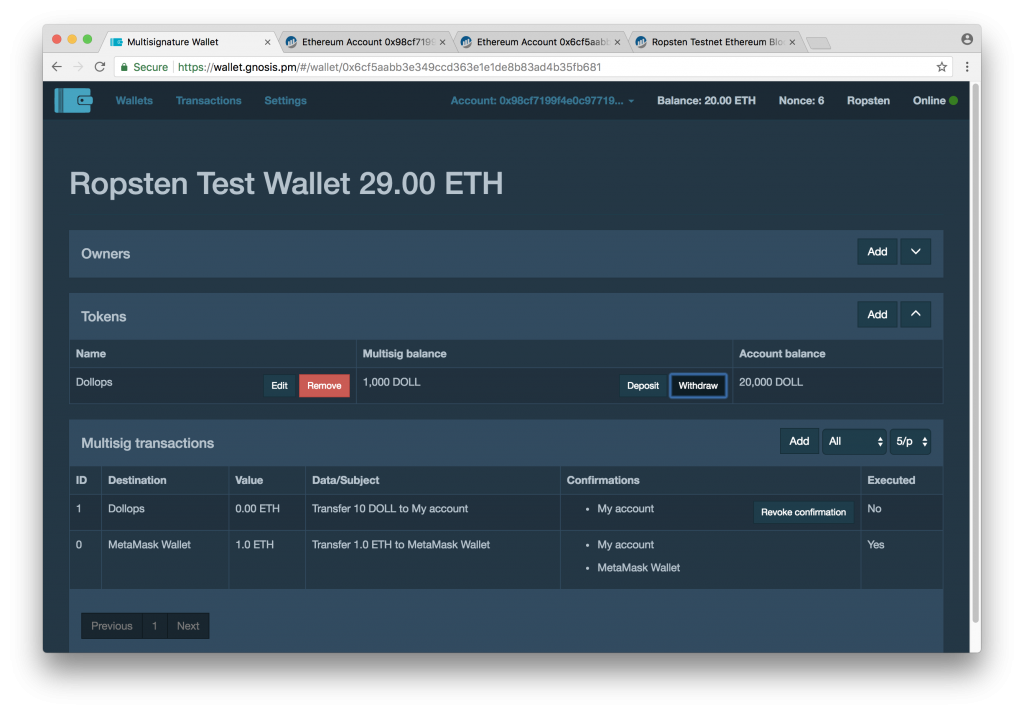
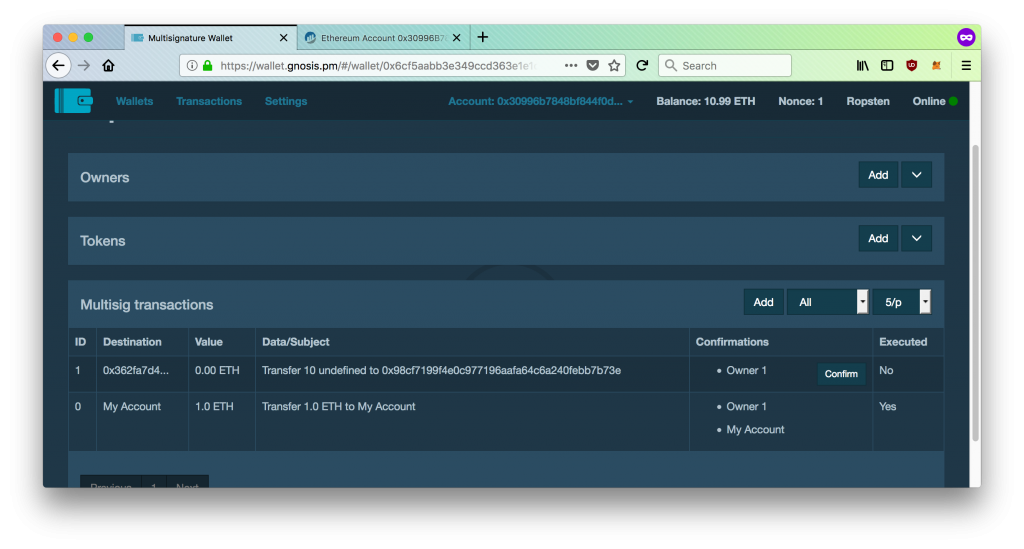
- 6. Executing Multisig ERC20 Token Transactions
- 7. References
1. Ledger Nano S
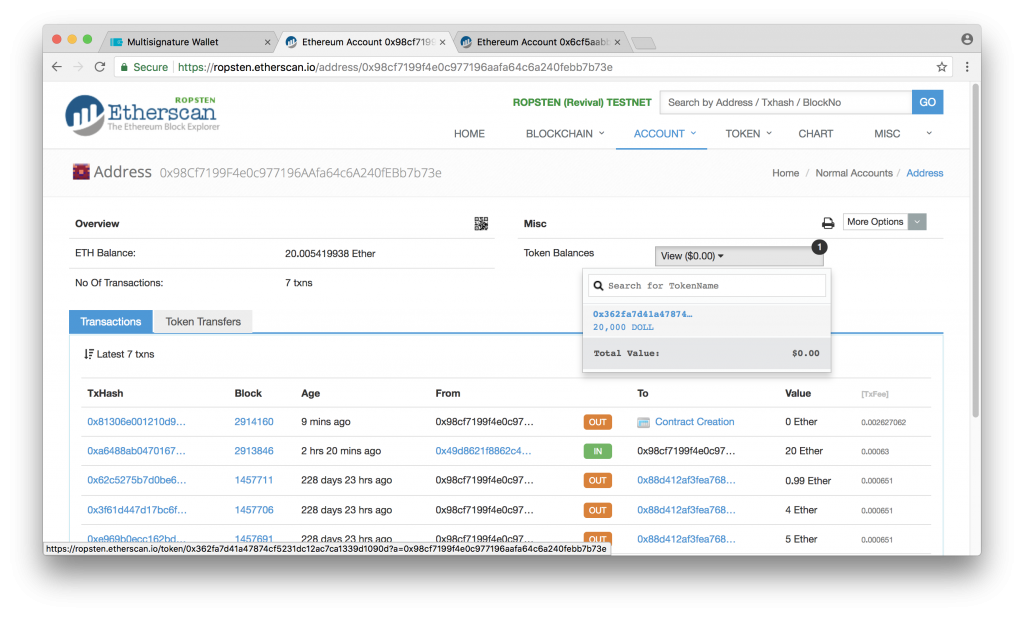
In this guide, I will be using the following seed phrase with my Nano – license diagram pelican spy monitor convince damage script wall hockey goose month popular swamp sugar rose mystery gap regular acquire bottom sea modify eyebrow. The account generated from this passphrase is 0x98Cf7199F4e0c977196AAfa64c6A240fEBb7b73e. I have sent some RtETH and tokens to this account.
On my Ledger Nano S, I selected the Ethereum icon -> Settings. I then selected Contract Data to yes and Browser Support to yes.
2. MetaMask
In this guide, I will be using the following seed phrase with my MetaMask account – devote double van helmet sausage decide eyebrow impact into sick spice banner. The account generated from this passphrase is 0x30996B7848Bf844F0DA4E33E92AC958DC6789CE8. I have sent some RtETH to this account.
3. Connecting Wallet User Interface To Ropsten
For this guide, I am setting up a multisig wallet from 2 separate web browser sessions. The first is using Chromium web browser (not Chrome, but that works too) with the Ledger Nano S connected to this session. The second is using the Firefox web browser with the MetaMask plugin.
In both sessions, navigate to https://wallet.gnosis.pm and select the Settings tab.
Nano
In this Nano session, select the Remote Ropsten Ethereum node and Ledger Wallet Web3 provider. Click Update settings. You may have to refresh your web browser page for the settings to become active.
MetaMask
In this MetaMask session, select Ethereum node Remote Ropsten and Web3 provider Default (MetaMask, Mist, Parity …). Click Update settings. You may have to refresh your web browser page for the settings to become active.
4. Deploying A New Wallet
Let’s deploy a new multisig wallet from the Nano session.
Nano
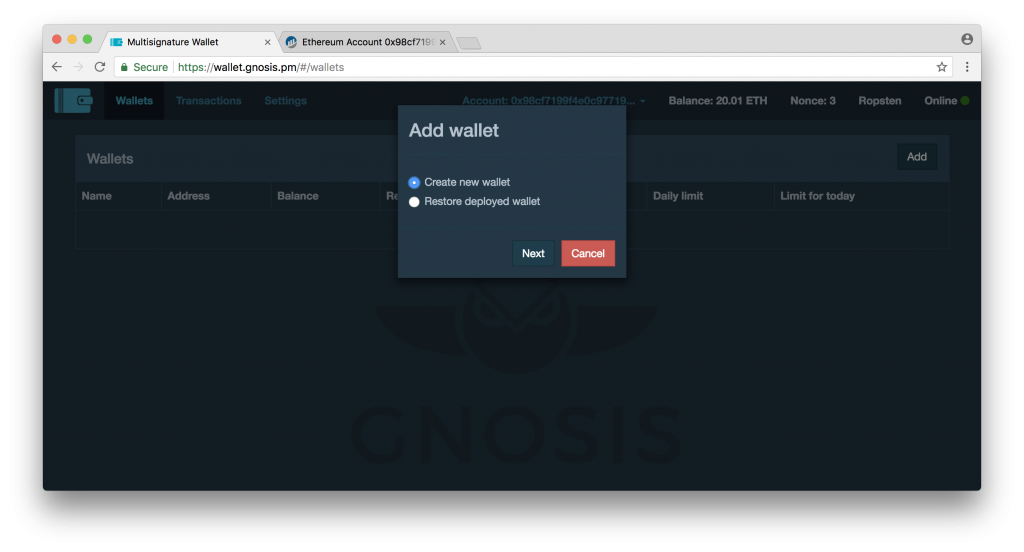
Click on Add on the right of Wallets:
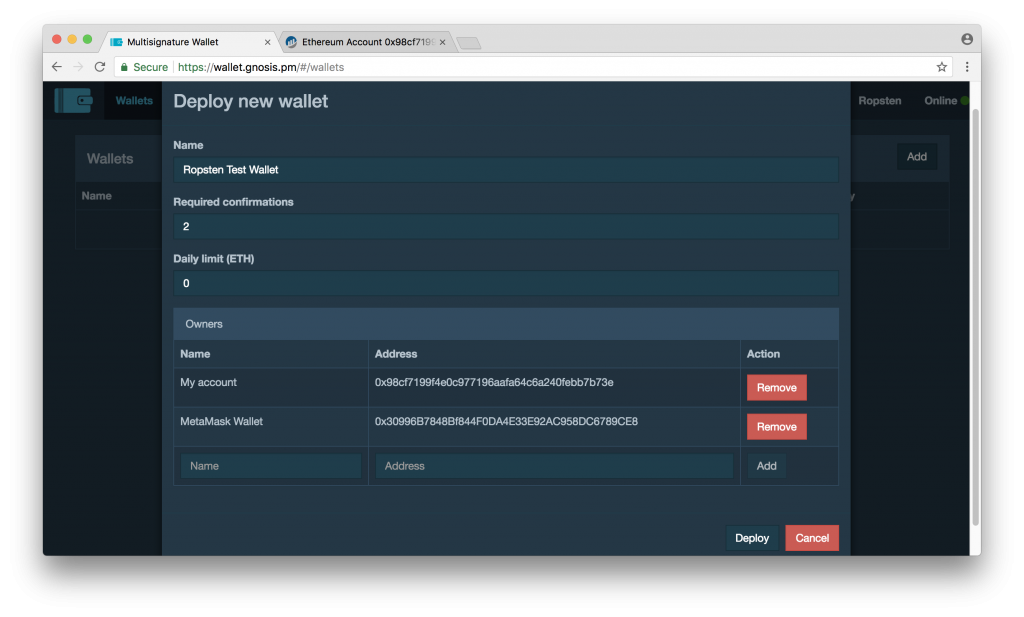
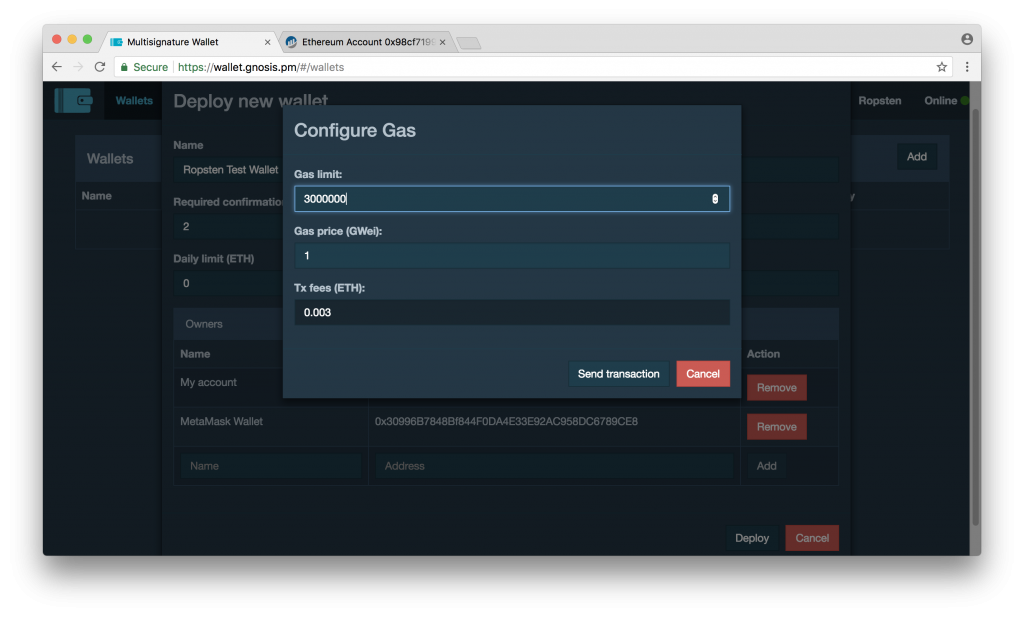
Enter a name for the wallet, the number of required confirmations, and the addresses of the owners:
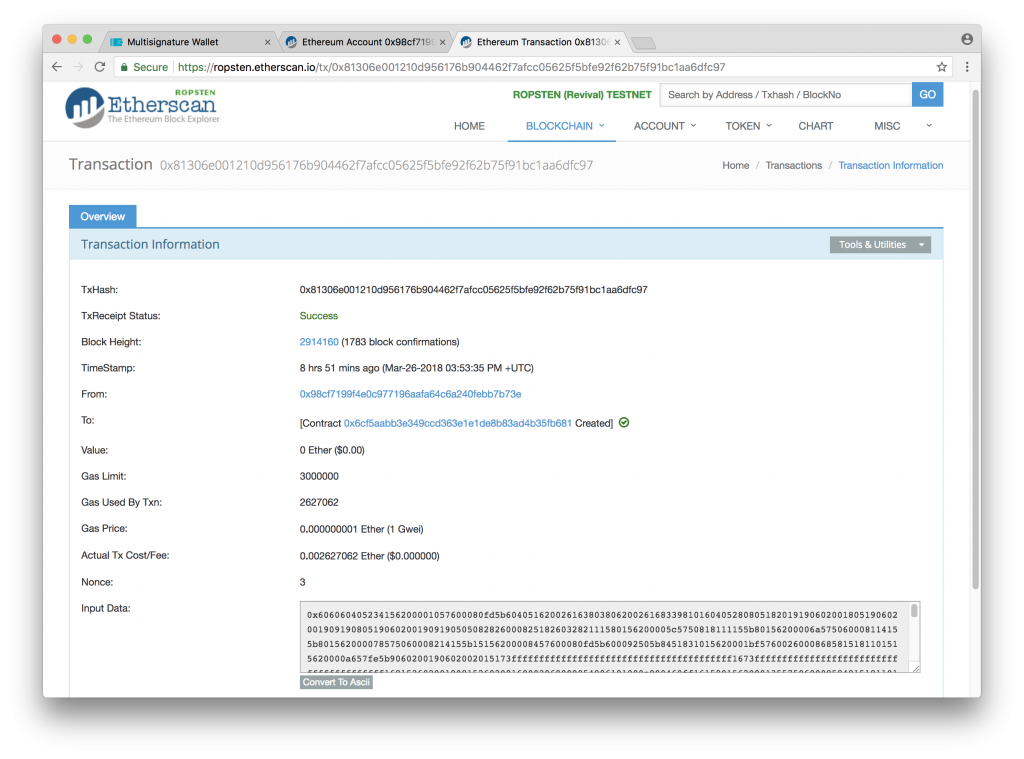
Check the gas and Send transaction. Press the confirm button on the Nano:
https://ropsten.etherscan.io/tx/0x81306e001210d956176b904462f7afcc05625f5bfe92f62b75f91bc1aa6dfc97
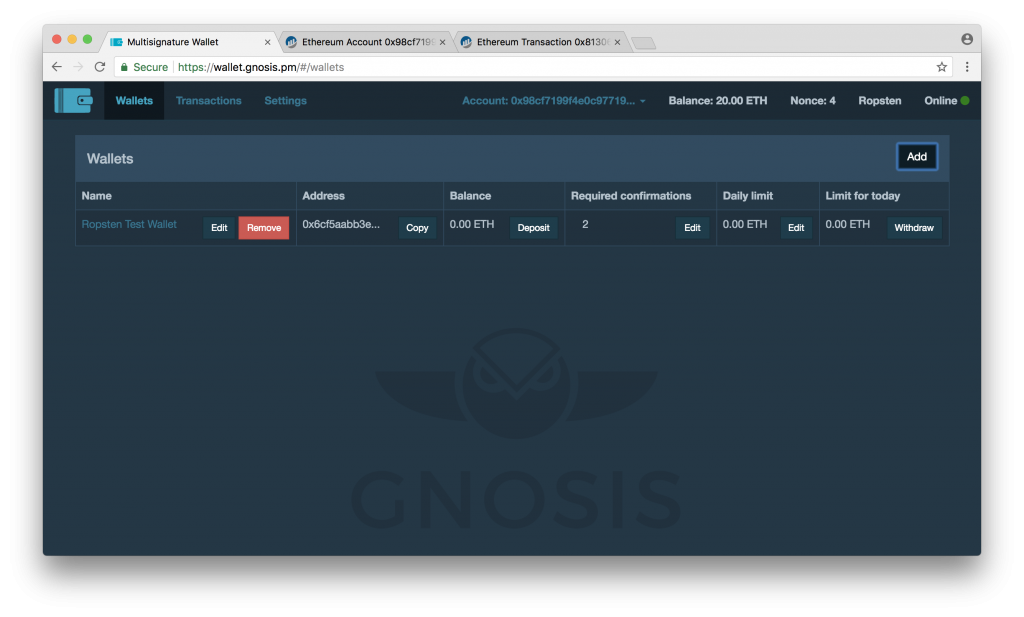
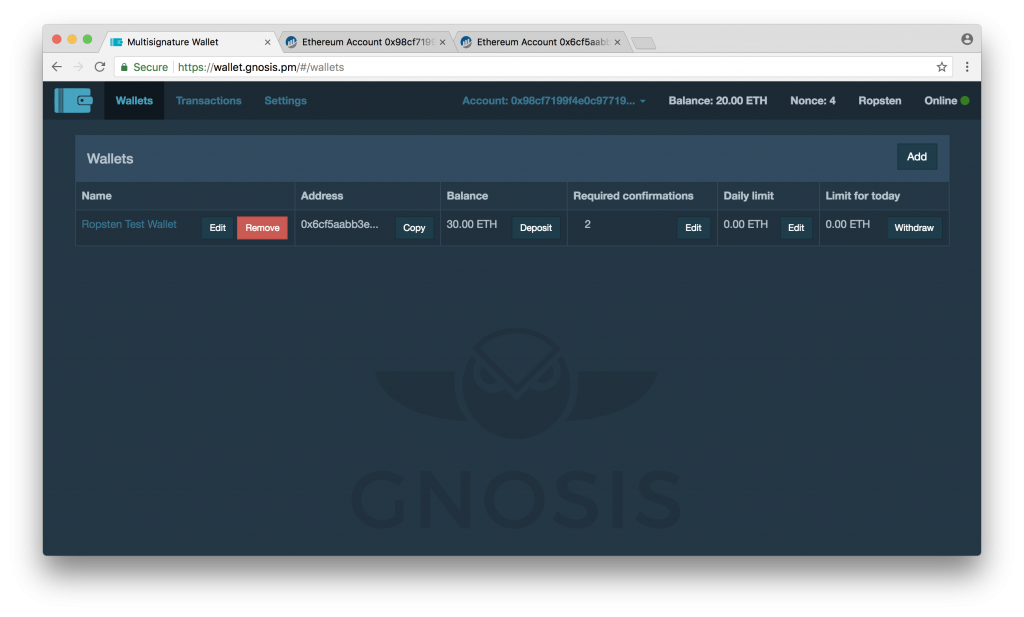
The wallet has been created:
I’ve sent some RtETH and some DOLL tokens to the wallet contract address 0x6cf5aabb3e349ccd363e1e1de8b83ad4b35fb681:
You can see the RtETH balance on the webpage:
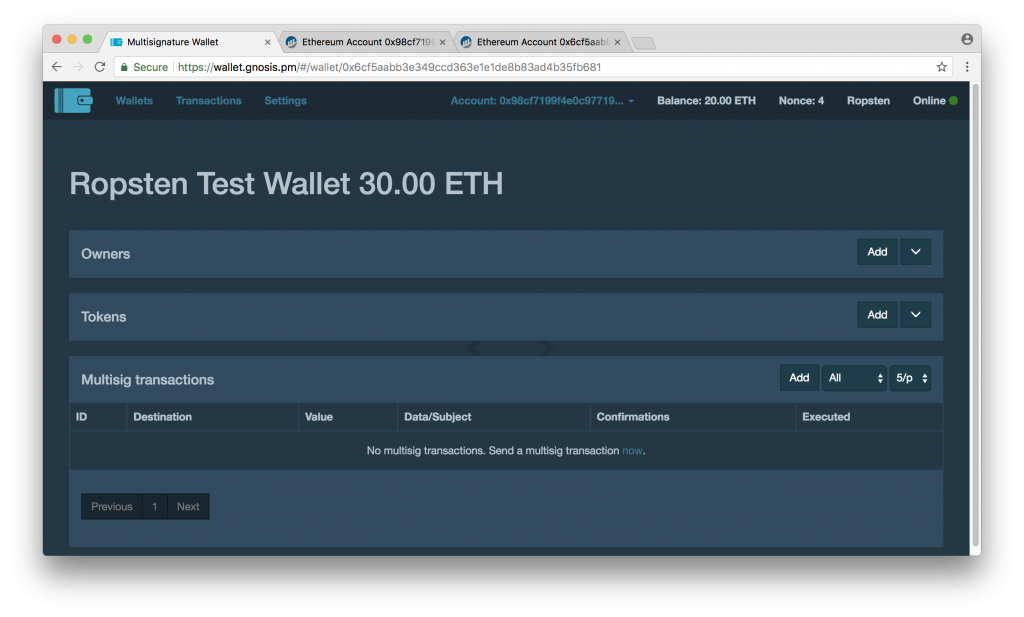
Click on the wallet name to view the wallet details:
Click on the Add button to the right of Tokens. Enter the address 0x362fa7d41a47874cf5231dc12ac7ca1339d1090d and the other fields are filled in:
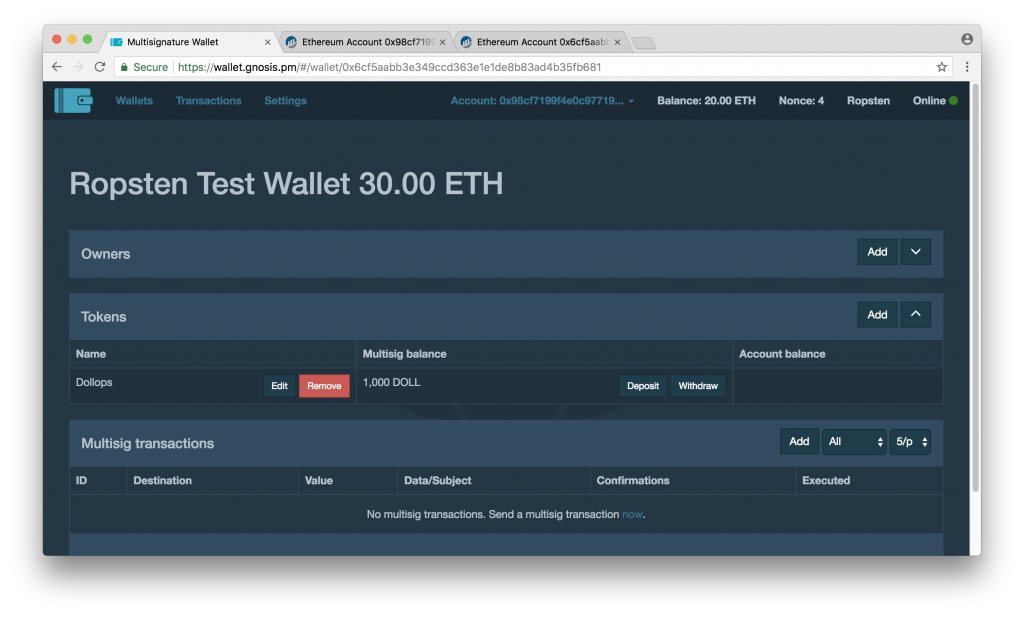
You can now see your token balance in the wallet:
MetaMask
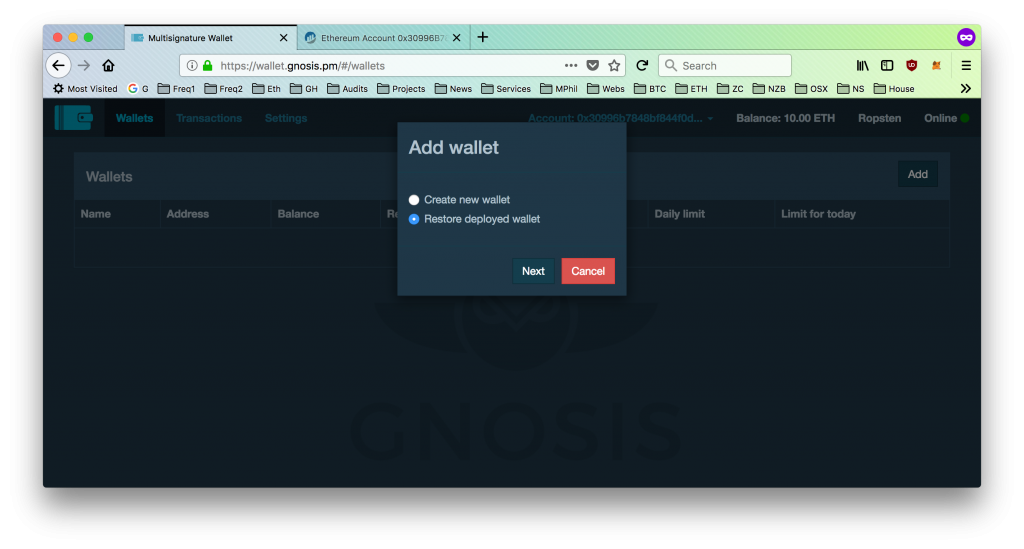
In the MetaMask session, click on Add to the right of wallets:
Click on Restore deployed wallet and Next:
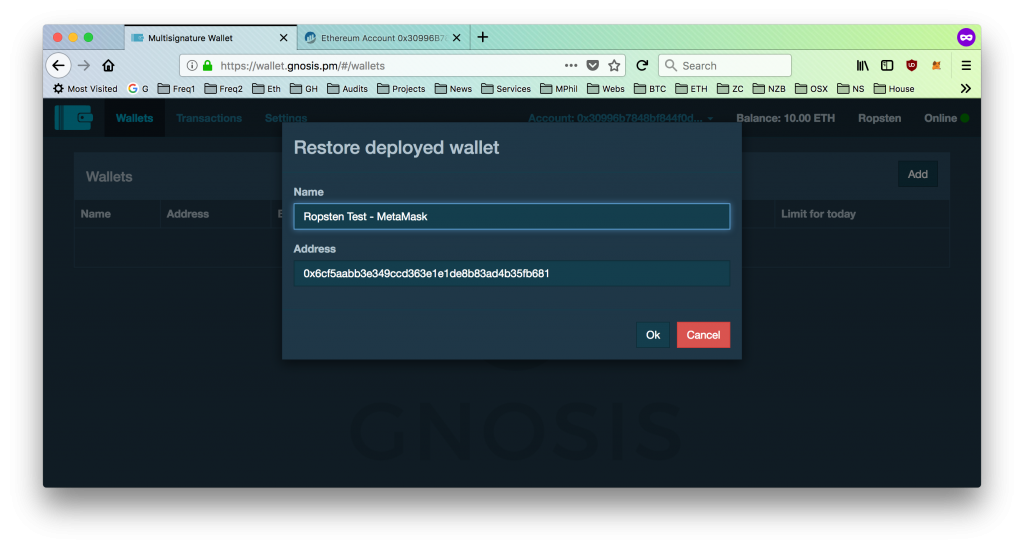
Enter the name and address of the newly created wallet 0x6cf5aABB3e349Ccd363E1E1DE8b83aD4b35FB681 and click Ok:
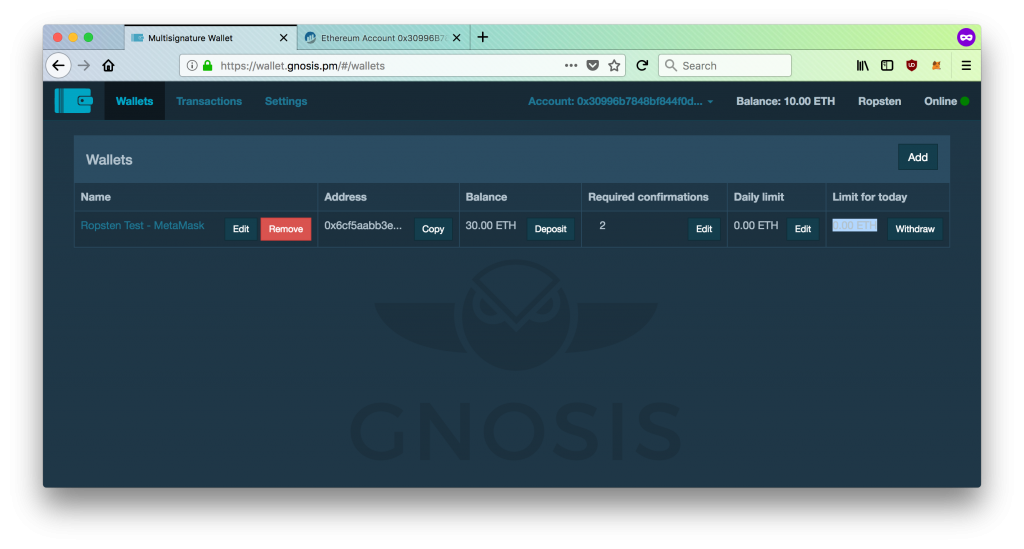
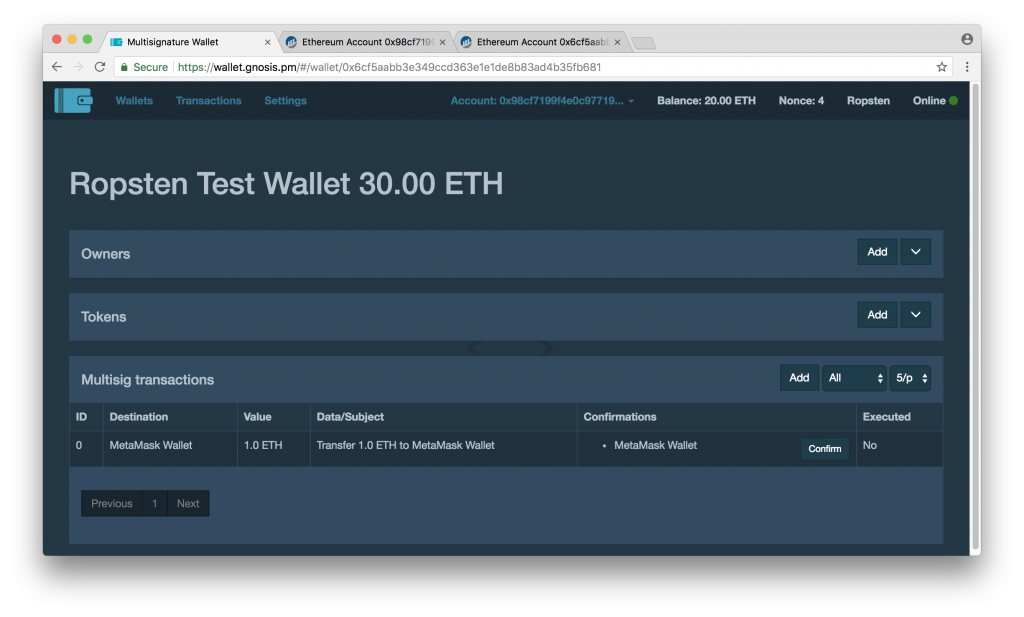
You will now see the wallet including the RtETH balance in the MetaMask session:
5. Executing Multisig ETH Transactions
MetaMask
Let’s withdraw some ETH from the multisig wallet from the MetaMask session.
Click on the Withdraw button to the right of the multisig wallet entry:
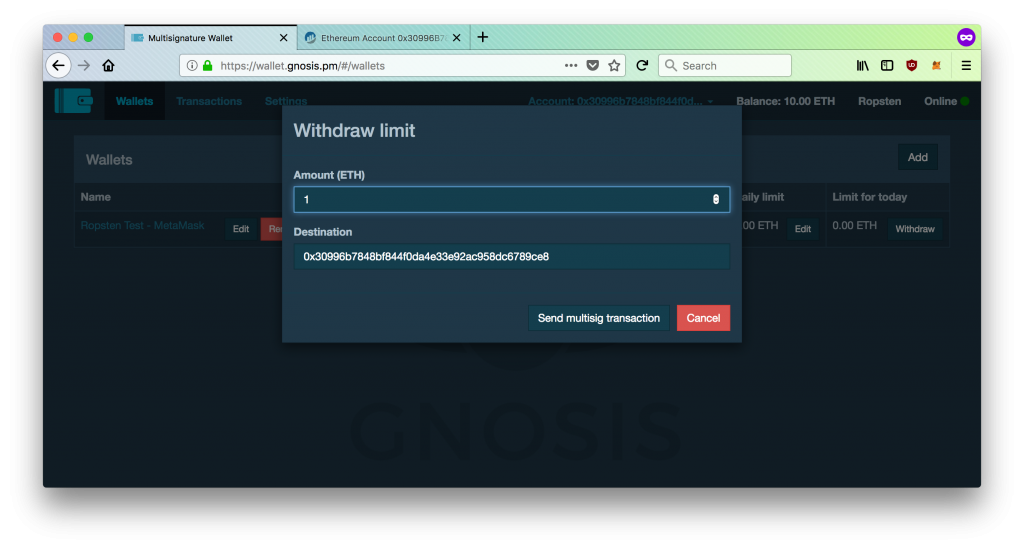
Enter the Amount (ETH), the Destination address and click on Send multisig transaction:
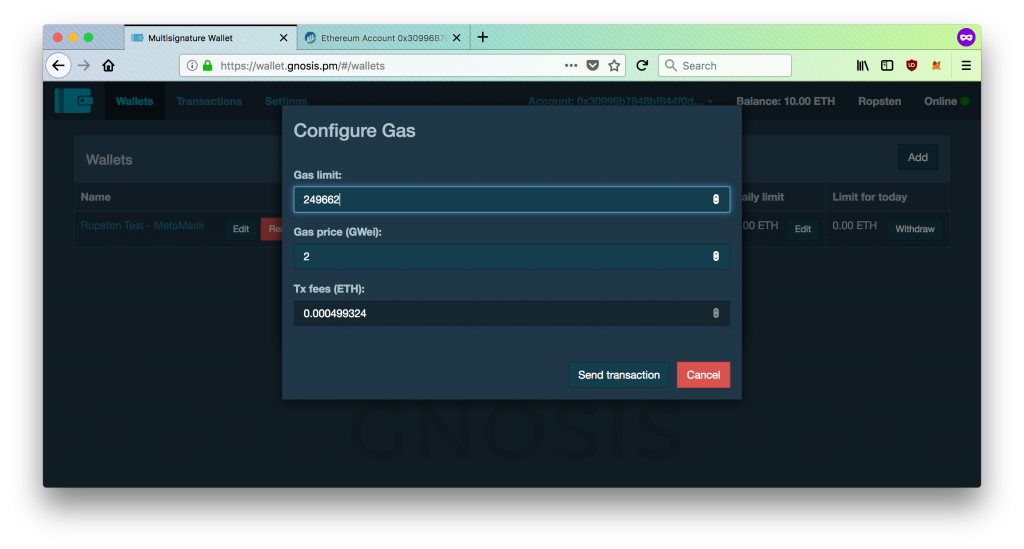
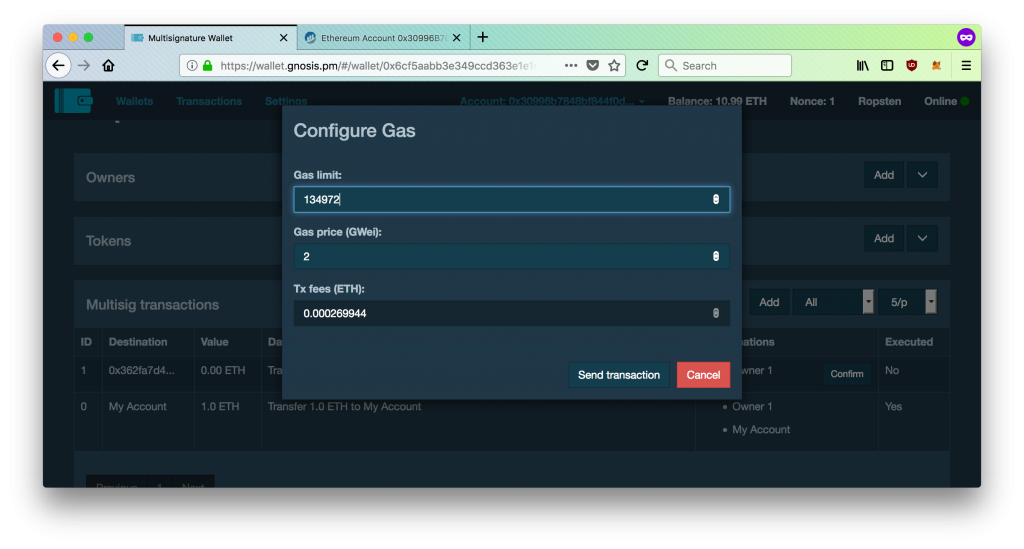
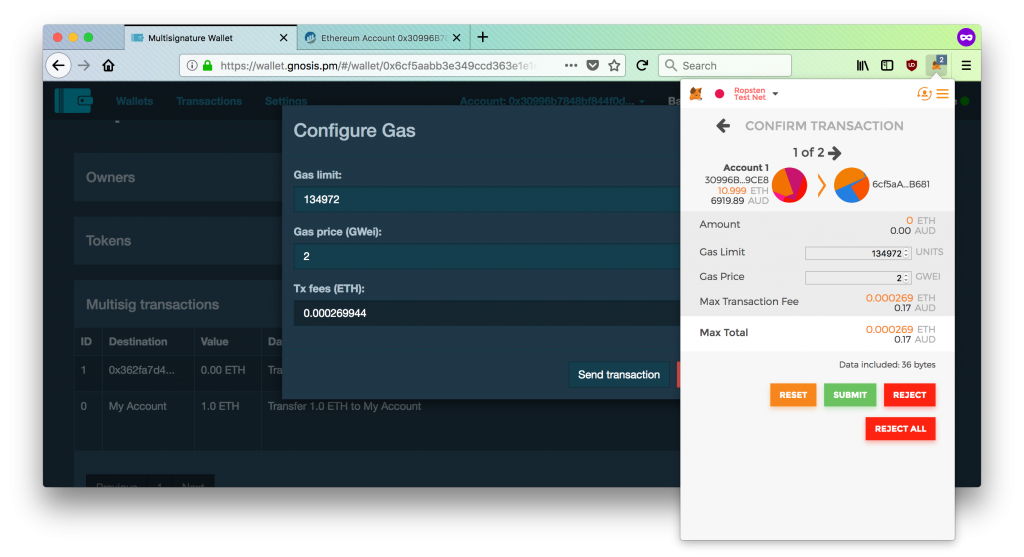
Customise the Gas limit and Gas price (GWei) and click on Send transaction:
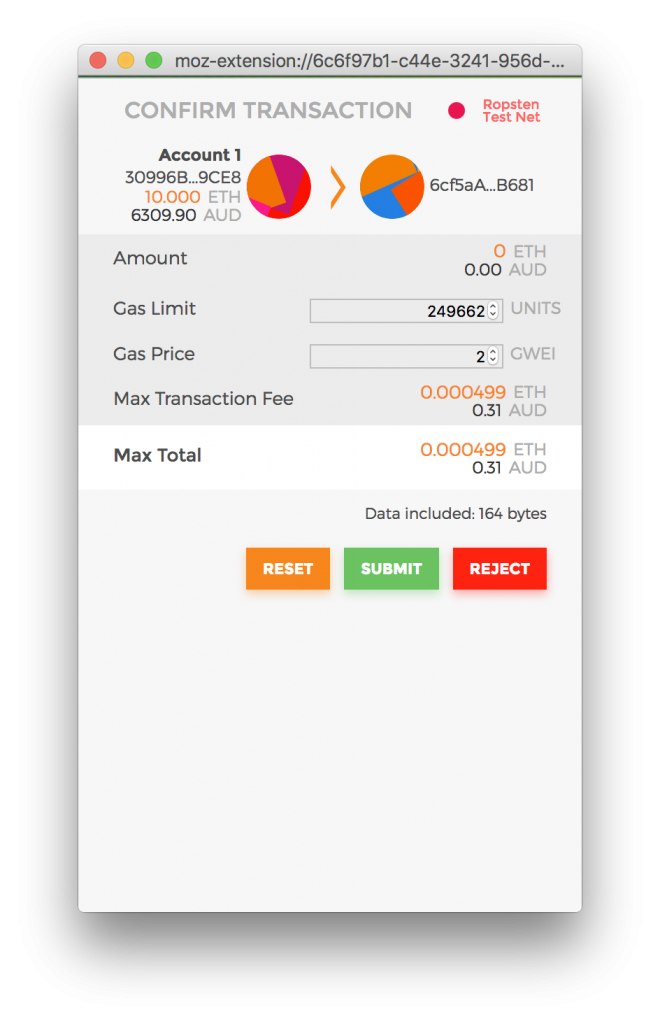
Click on the Submit button to send the transaction.
https://ropsten.etherscan.io/tx/0x6b5e8b2ed126b06a84e04926229462de18ffd471469da2335cda8c87c01c7652
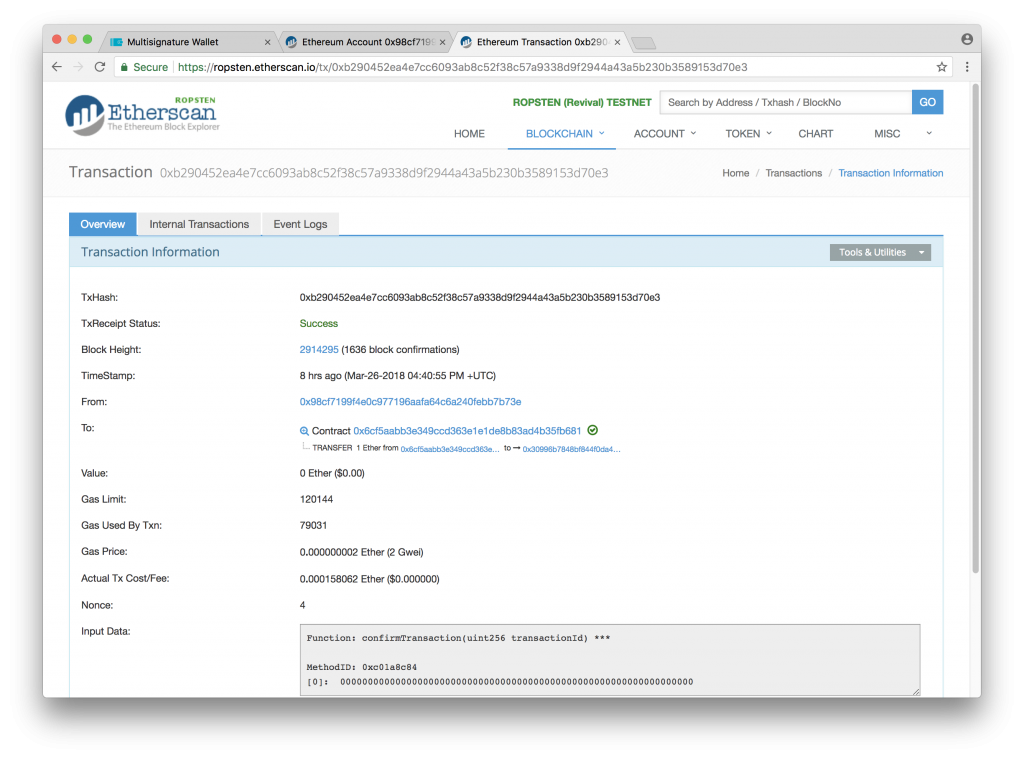
Here is transaction https://ropsten.etherscan.io/tx/0xb290452ea4e7cc6093ab8c52f38c57a9338d9f2944a43a5b230b3589153d70e3 .
6. Executing Multisig ERC20 Token Transactions
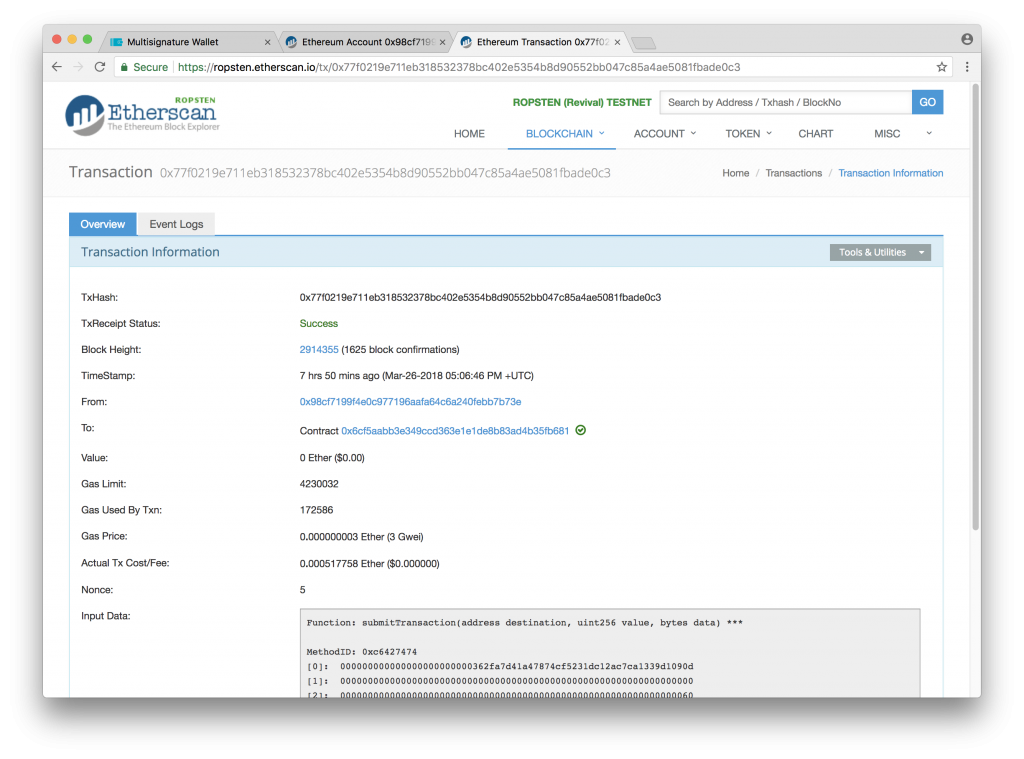
https://ropsten.etherscan.io/tx/0x77f0219e711eb318532378bc402e5354b8d90552bb047c85a4ae5081fbade0c3
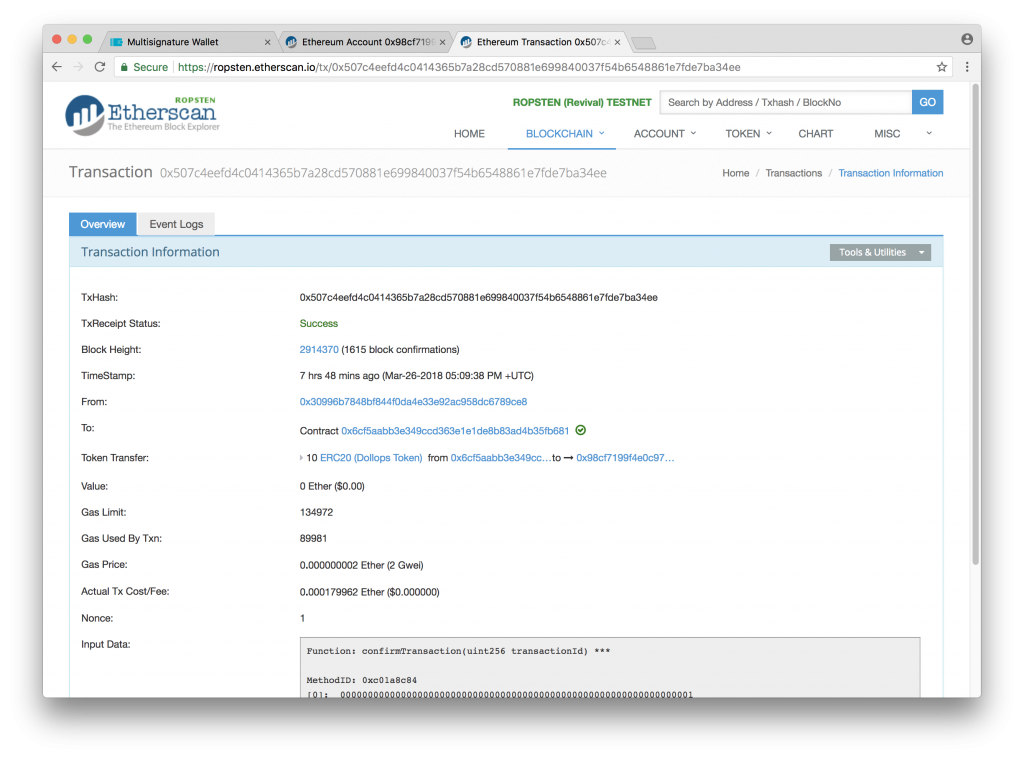
https://ropsten.etherscan.io/tx/0x507c4eefd4c0414365b7a28cd570881e699840037f54b6548861e7fde7ba34ee

